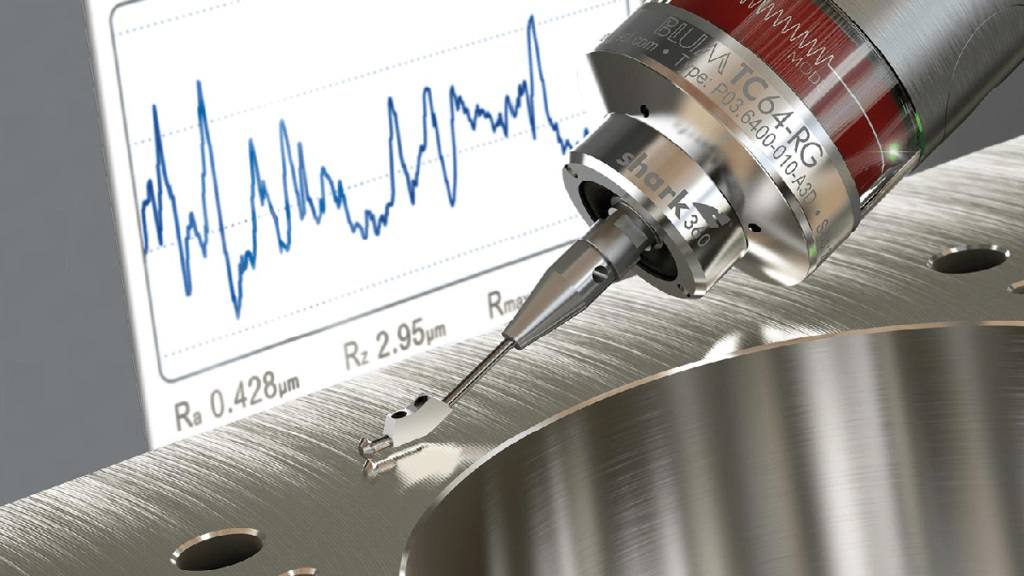
When we are producing components by various methods of manufacturing process it is not possible to produce perfectly smooth surface and some irregularities are formed. These irregularities are causes some serious difficulties in using the components. So it is very important to correct the surfaces before use. The factors which are affecting surface roughness are
1. Work piece material
2. Vibrations
3. Machining type
4. Tool and fixtures
The geometrical irregularities can be classified as
1. First order
2. Second order
3 Third order
4. Fourth order
1. First order irregularities
These are caused by lack of straightness of guide ways on which tool must move.
2. Second order irregularities
These are caused by vibrations
3. Third order irregularities
These are caused by machining.
4. Fourth order irregularities
These are caused by improper handling machines and equipments.
Elements of surface texture
1. Profile: – Contour of any section through a surface.
2. Lay: – Direction of the ‘predominate surface
3. Flaws: – Surface irregularities or imperfection, which occur at infrequent intervals.
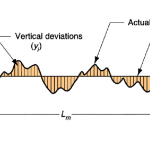
4. Actual surface: – Surface of a part which is actually obtained,
5. Roughness: – Finely spaced irregularities. It is also called primary texture.
6. Sampling lengths: – Length of profile necessary for the evaluation of the irregularities.
7. Waviness: – Surface irregularities which are of greater spacing than roughness.
8. Roughness height: – Rated as the arithmetical average deviation.
9. Roughness width: – Distance parallel to the normal surface between successive peaks.
10. Mean line of profile: – Line dividing the effective profile such that within the sampling length.
11. Centre line of profile: – Line dividing the effectiveness profile such that the areas embraced b profile above and below the line are equal.


