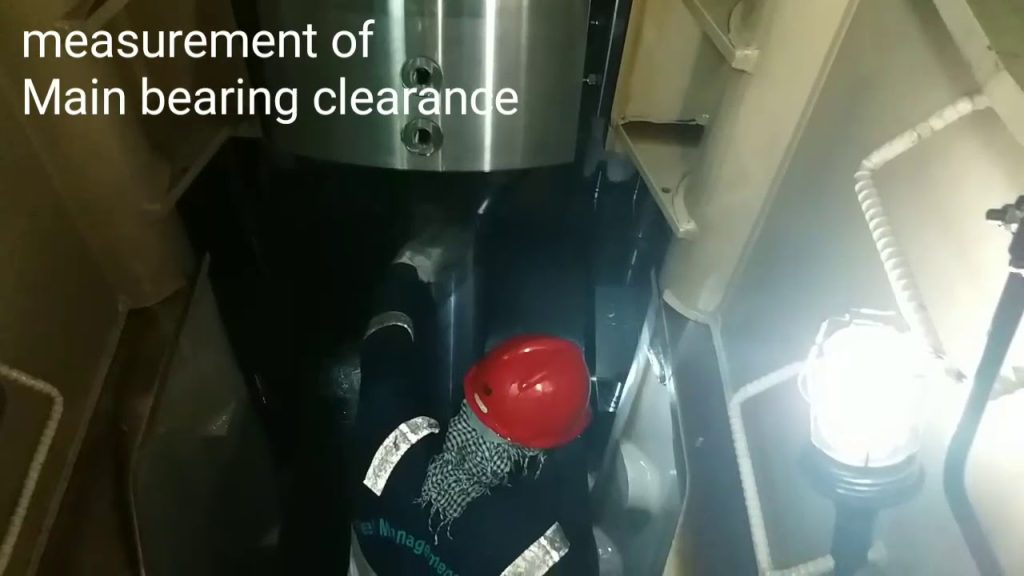
There are various types of methods adopted by different marine engine manufacturers to measure the clearance of main bearing of marine engine. Following are some of the most prominent methods used onboard ships to measure the clearance of main bearing:
1) Bridge with Depth Gauge
This method is used in SULZER 2 stroke marine engines where the bearing‘s shell is removed along with the keep (the bearing shell is lined with the keep). After that a bridge is fitted over the top of journal pin, from port to starboard, making a bridge over the crankshaft with two ends supported on the cross girder.
A simple vernier type depth gauge is then inserted in the hole provided on the bridge and the scale of depth gauge is rested on the crankshaft pin. The total depth on the scale is measured and compared with the previous reading and the reading in the manual for calculating the wear down of bearing.
In old model SULZER engines, a collar is provided in the bearing shell along with a small hole. Thus without removing the keep, the bridge is fitted adjacent to the keep and the depth gauge is used from the hole provided in the shell to measure the shell wear down.
2) Bridge With Feeler Gauge
In some engines, after removing the shell and the keep, the bridge is installed as explained in the above point. Also, in place of depth gauge, a feeler gauge is used to measure the clearance between the journal pin top and the bridge bottom. The bridge used here is different in terms of height and the gap between the pin and the bridge is very less as compared to that of the bridge used in the above mentioned method.
3) Telescopic or Swedish Feeler Gauge
In engines like MAN B&W, this is the most common method used to measure the bearing clearance of the top shell. In this method there is no need to remove any connection or keep for measuring the clearance.
The telescopic gauge is inserted between the gap of the crank web and the bearing keep. When the tip reaches the shell top, the feeler is inserted between the shell and the pin to check the clearance.
4) Dial type Depth Gauge
This method is used in new MAN B&W engines (SMC-C) which does not require the top keep to be removed. The lube oil pipe connection screw hole is in the bearing keep which can be accessed from the hole on the bearing shell.
The dial gauge is inserted in this screw hole and the reading is taken as the clearance for upper shell.
5) Lead wire – The Traditional Method
This is a traditional method and to be used when no other alternative or tools are present. In this method, lead wire is inserted at different positions between bearing and pin. The bearing housing is tightened. Ensure not over squeezed the wire more than 1/3 rd of original diameter. General Method for taking clearance using lead wire:
· Turn the crank shaft to set the crank at TDC position.
· remove locking and slacken the nut to lower the bottom half with bolts.
· Three lengths of lead wires to be inserted or laid circumferential in the bottom half at three different places.
· Close the bottom half into position and tighten the nut to its rated tightening torque.
· Open and lower down the bottom half again.
· Remove the lead wires and take the measurement.


